Chocolate Easter Pastry Bunnies (Vegan GF)
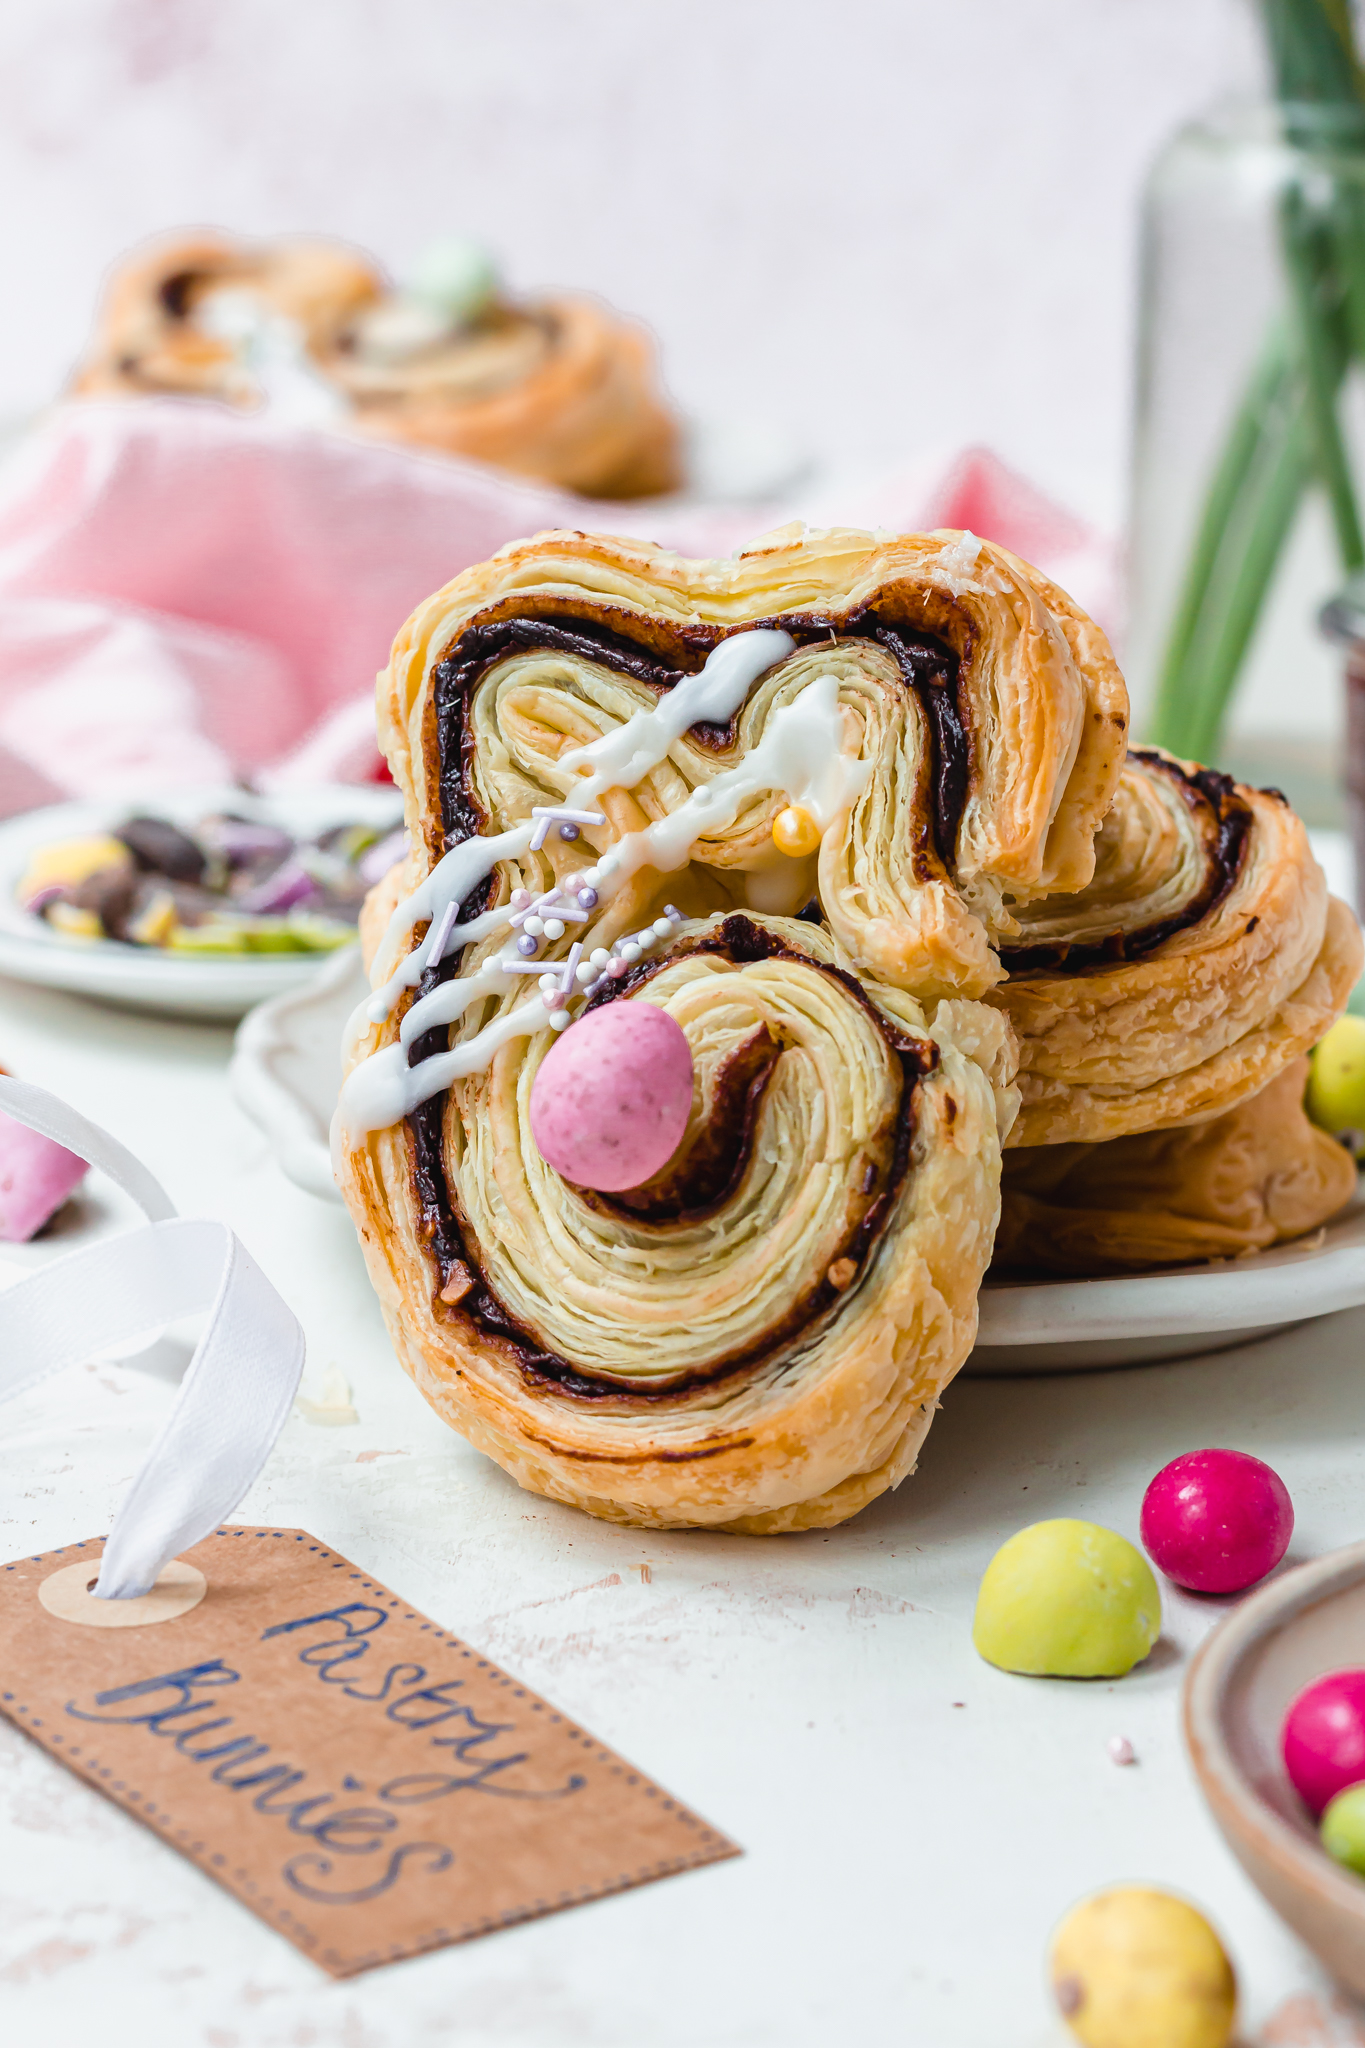
These Chocolate Easter Pastry Bunnies are fun to make and only need 2 main ingredients: pastry and chocolate spread. They are accidentally vegan, easily gluten-free and deliciously chocolatey.
If you are looking for a new favourite and quick Easter bake to make with little (and big) ones, these pastry bunnies are so fun. I have wanted to make these for so long but needed to wait until we were in full-on Easter mode before sharing the recipe today. Although, these would be great all year long and you can make them into any shapes and they’re just as delicious.

Why will I love these pastries?
These are the best to make, they are:
- Chocolatey, golden and flaky
- Tender, rich and so moreish
- Easy to make in 10 minutes
- Great activity for little ones
- Made with 2 main ingredients
- Accidentally vegan and easily gluten-free
- Fun and delicious for Easter
- Fantastic bake for family and friends
If you already love the sound of these bunnies then skip ahead to the recipe card below. Or, first let’s discuss the recipe in more detail.


What ingredients do I need?
You can shop my favourites below, and here is what we need:
- Puff pastry: I buy the ready-rolled pastry as it’s much easier to unroll and you don’t need to get out the rolling pin. Most shop-bough puff pastries are accidentally vegan but please check the labels and you can also buy gluten-free puff pastry, too.
- Vegan chocolate spread: if you love Nutella, then find a dairy-free Nutella spread, of which there are many. For a homemade option, you can use my Homemade Vegan Nutella Chocolate Spread or use a similar dark or dairy-free milk chocolate spread.
- Plant-based milk: this is for brushing on top of the pastries and also for the glaze. You can use any milk you lie, for example oat, almond or soya.
- Icing sugar: for the glaze to decorate the bunnies. This step is optional so you can eat them without the glaze.
- Mini eggs and sprinkles: I am obsessed with the Doisy and Dam chocolate mini eggs and also their chocolate covered peanuts for these bunny pastry tails, but you can use something similar. I also like to add some vegan sprinkles, my favourite are from Baking Time Club and my code AMY20 saves you 20% off everything.


Are these gluten-free and nut-free?
Yes, just use gluten-free pastry where needed and check all of your ingredients do not contain nuts.
How do I make them?
These are easy to make, when you know the secret to creating the bunny shapes. Please see the visual step-by-step below.
- Unroll the pastry and cover half with chocolate spread: now place the second half of pastry on top and sandwich together.
- Cut the pastry into strips: along the shorter edge so you have 7-8 longer strips.
- Roll up the strip like a cinnamon roll: to about 2/3 of the length.
- Using the final 1/3 create an “M” shape: these are the ears.
- Press this together against the roll: to create the bunny.
- Repeat to make all 7 or 8 pastries: and place on the baking tray.
- Brush with plant milk and bake for 25 minutes: until crispy and golden.
- Top tip is to re-shape the pastries during baking: by pressing the ears together to create a more defined shape, after every 10 minutes.
- Enjoy warm or allow to cool and decorate: with the icing sugar and mini eggs.


Can I make other shapes?
Yes, you can make these into cinnamon roll shapes by continuing to roll up the strips to make circles. Bake them as above, brushed with milk until golden and flaky. You can plait them together like little babka buns, as described here, and you can make little twists too like in this recipe here.

What else can I make?
If you are looking for other Easter ideas, how about my:
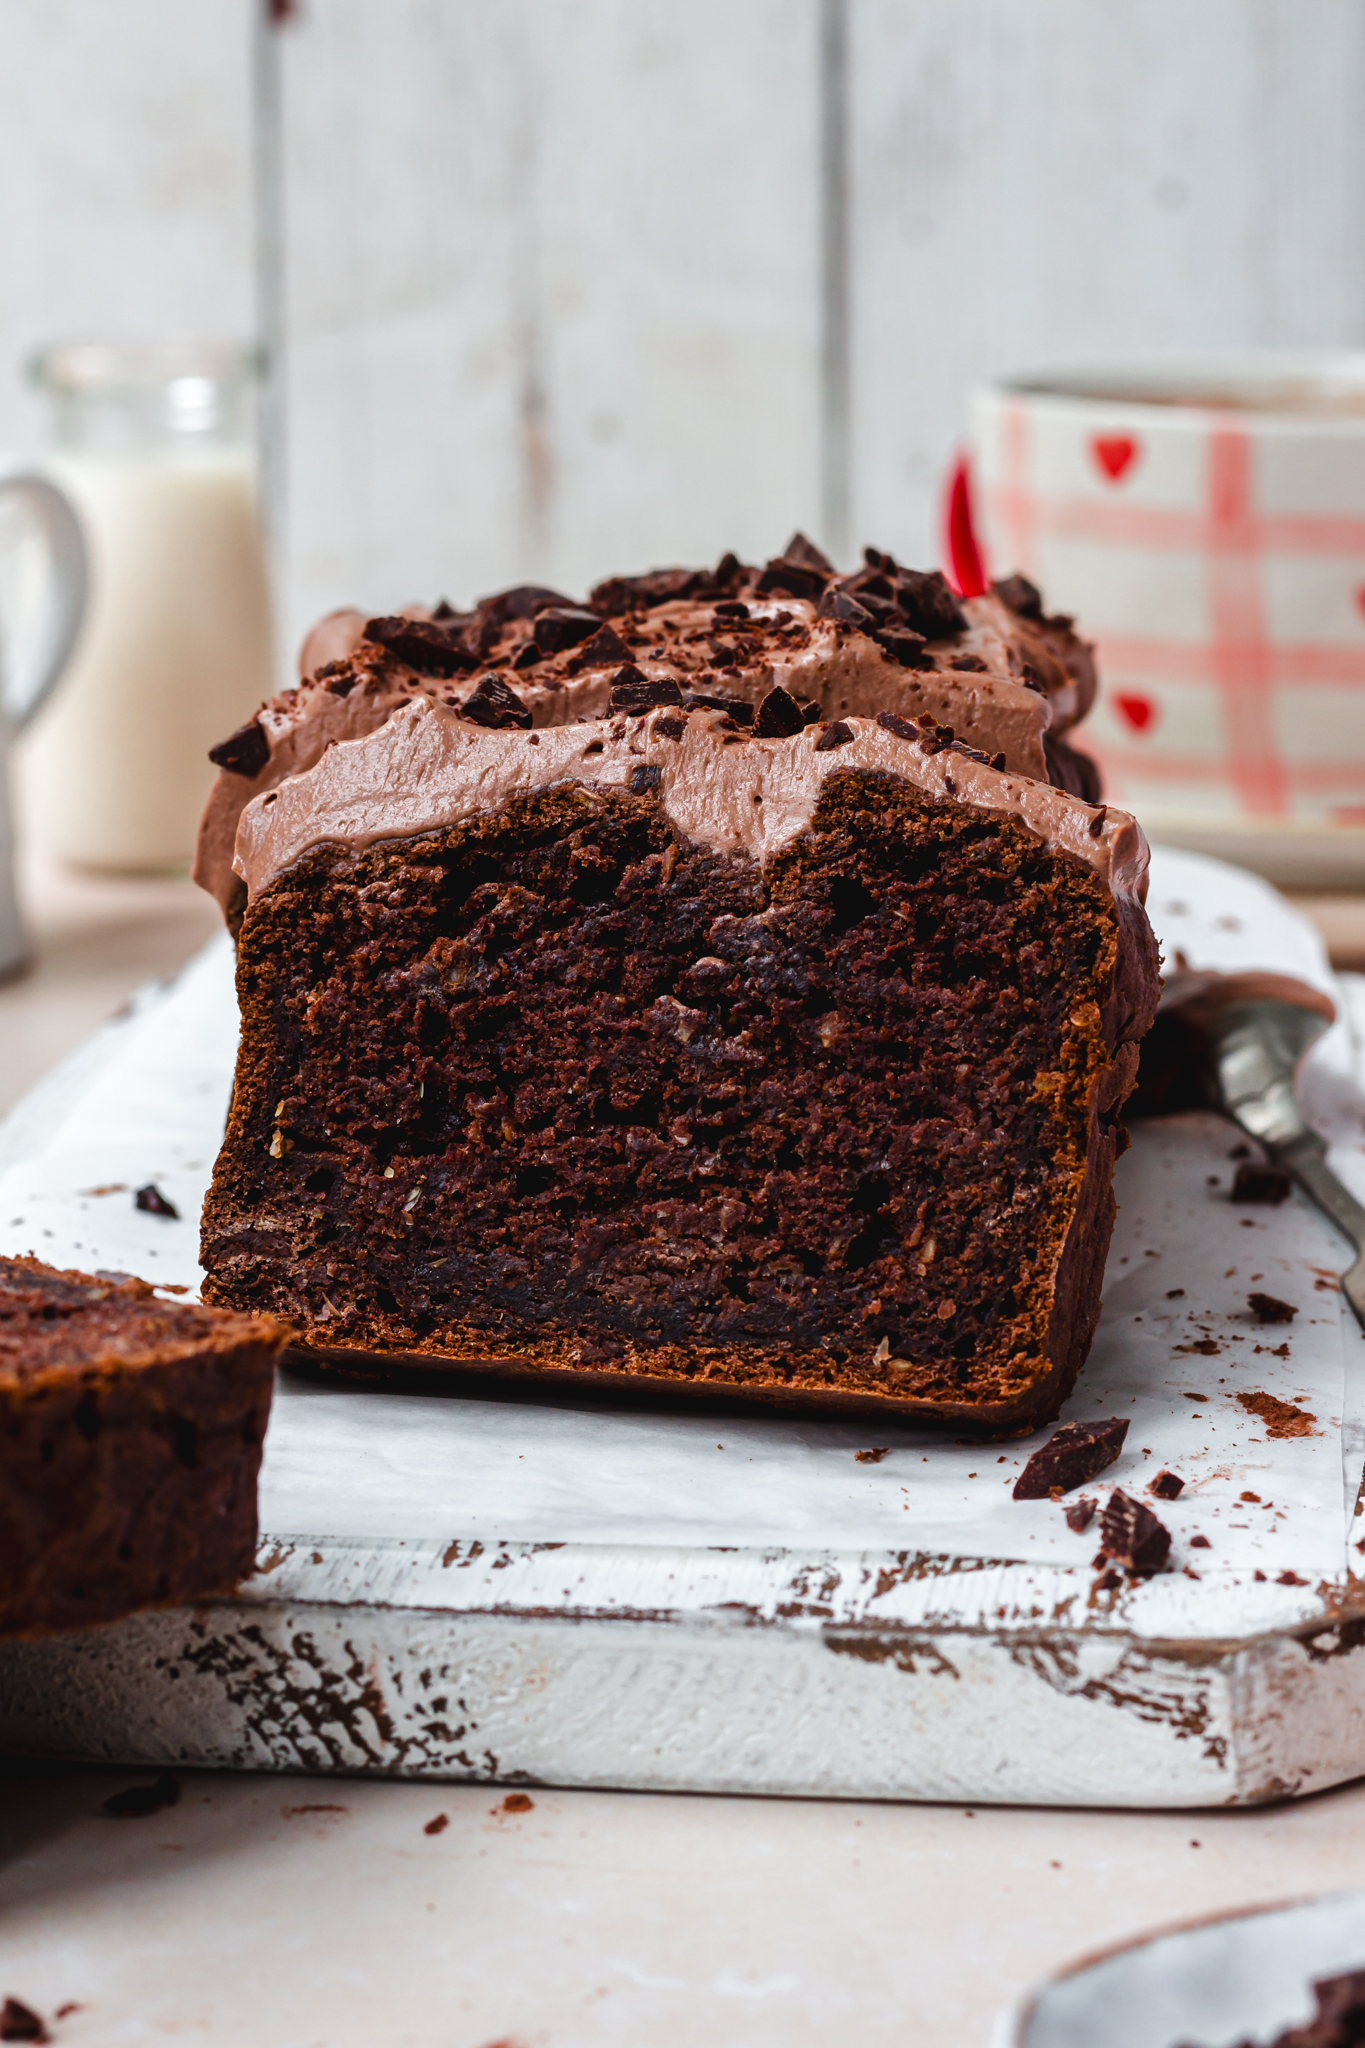
- Vegan Easter Egg Chocolate Cake
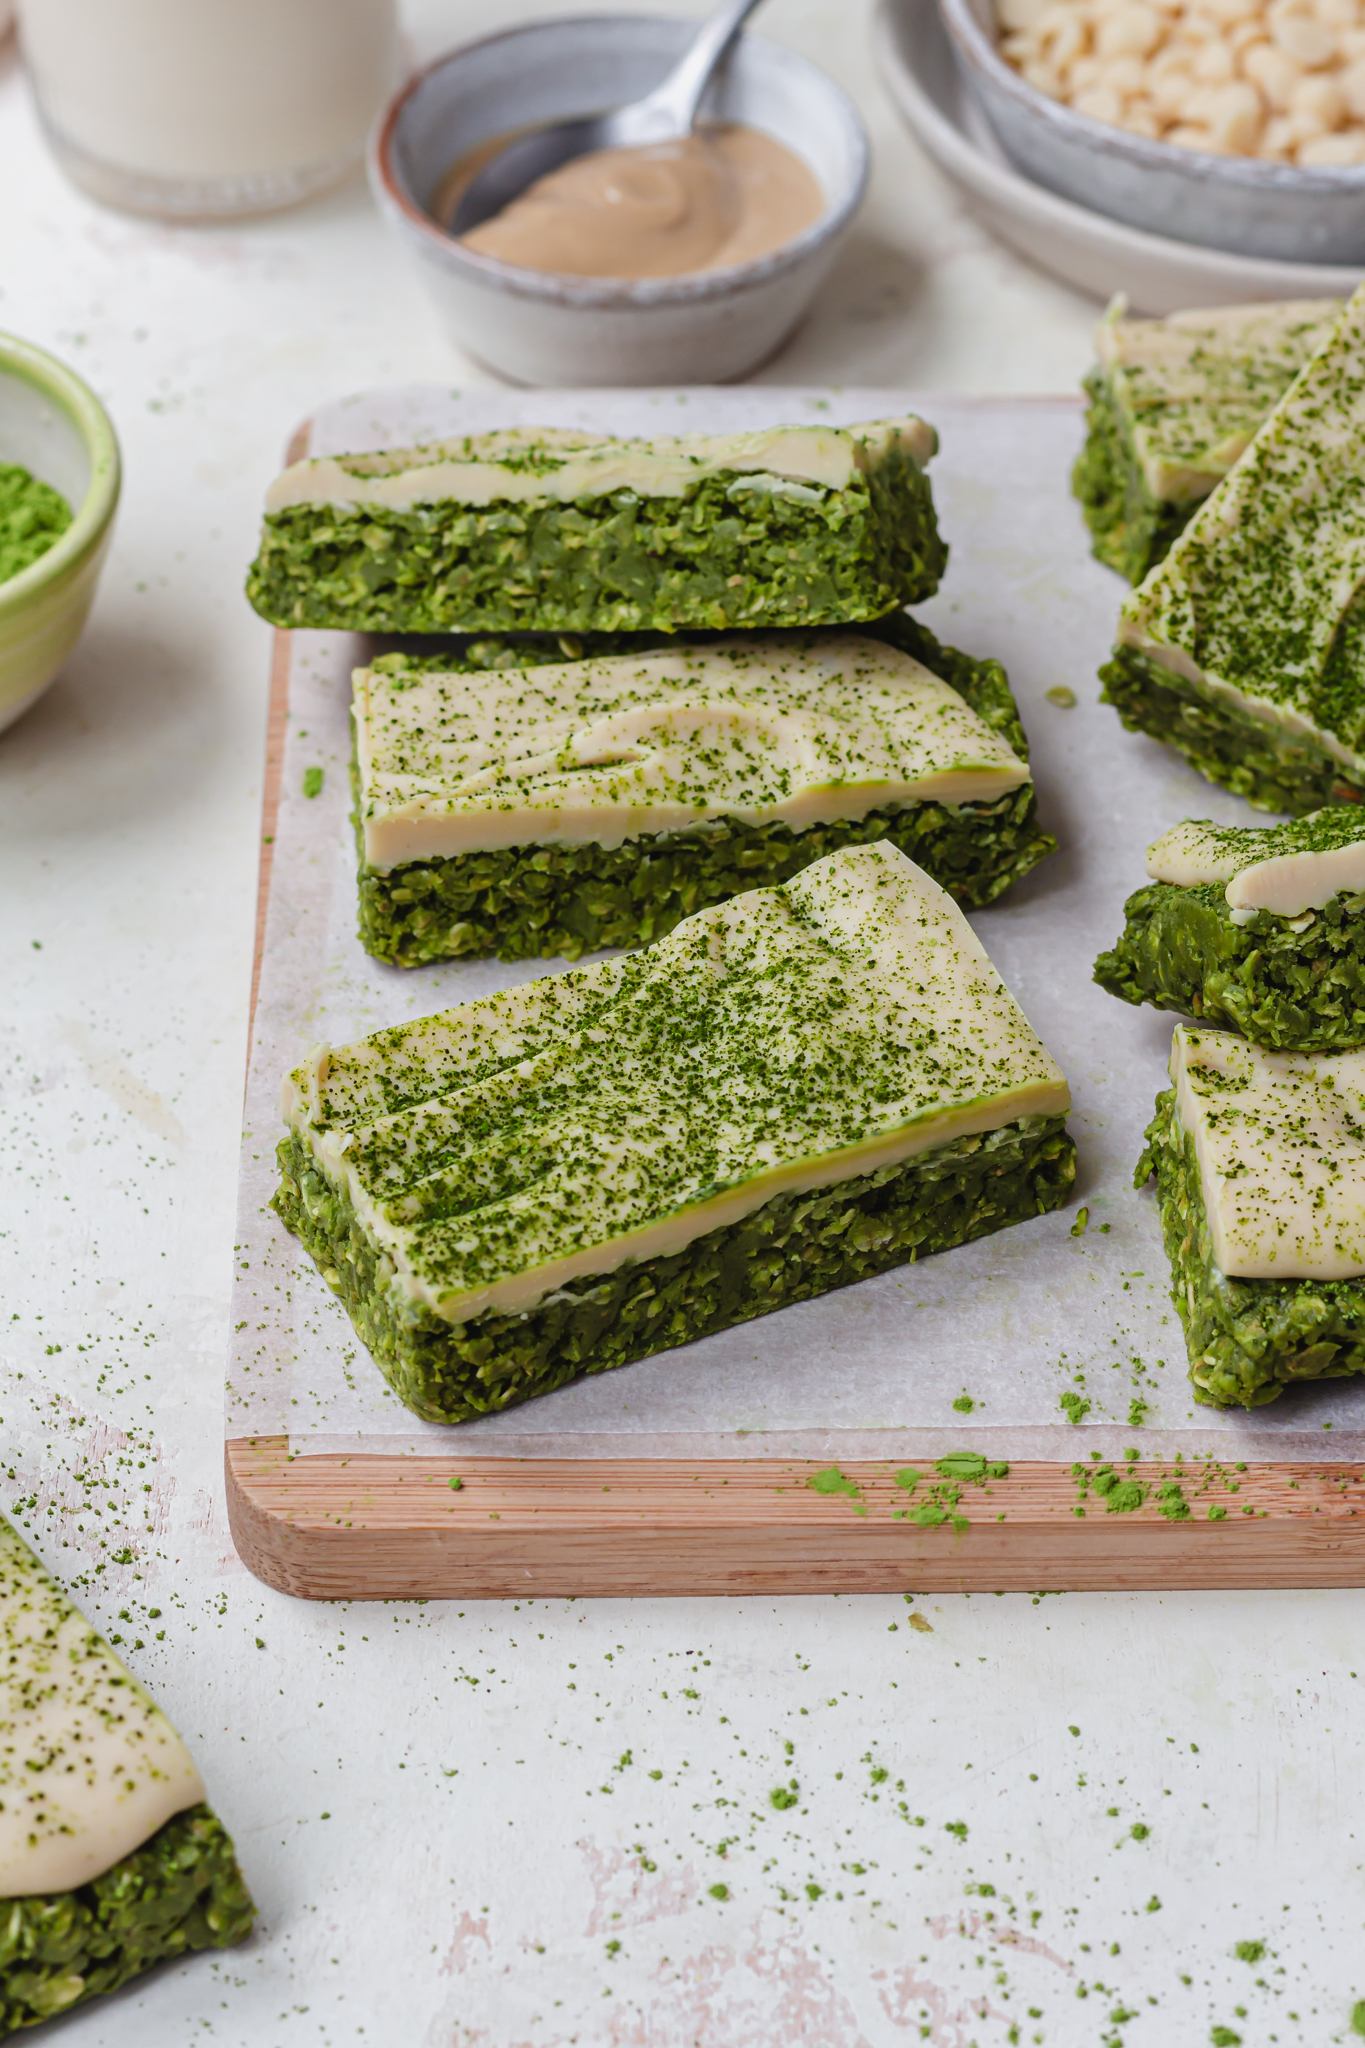
- Mini Egg Marble Chocolate Protein Bars
- Chocolate Cornflake Nest Cupcakes
- Vegan Cream Egg Cheesecakes
- Vegan Chocolate Easter Fudge

Chocolate Easter Pastry Bunnies
These Chocolate Easter Pastry Bunnies are fun to make and only need 2 main ingredients: pastry and chocolate spread. They are accidentally vegan, easily gluten-free and deliciously chocolatey.
Ingredients
- 375g (one sheet) puff pastry roll
- 70g vegan chocolate spread
- 1 tbsp + 1 tsp plant-based milk, divided
- 40g icing sugar
- Mini Eggs, sprinkles
Instructions
- Remove the pastry from the fridge and allow to rest for 10 minutes. Preheat the oven to 180Fan/200ºC and line a large baking sheet with parchment paper.
- To make the pastries: Unroll the pastry and divide in half lengthways so you have two pieces. Spread the chocolate spread all over one piece of pastry, leaving a small border around the edge. Now top with the second sheet of pastry and press down lightly.
- To shape the pastries: using a sharp knife, divide the shorter edge of the chocolate pastry sandwich into 7-8 strips, of equal width. Take one strip and begin to toll it up like you’d roll a cinnamon roll. After about 2/3 of the strip, bring the pastry up and down in a wave motion to create a large “M” shape – these are the bunny ears. Secure the edge of the pastry “M” to the roll with your fingers, pressing in slightly. Transfer to the lined baking tray and repeat to make all the bunnies.
- To bake: brush with 1 tbsp of the milk and place in the oven for 25 minutes. After every 10 minutes, turn the tray around 180º and pinch together the ears to re-create the defined shape, otherwise they will spread out a lot as the pastry puffs out.
- Remove the pastries from the oven and allow to cool on a wire rack. If you are decorating them, they need to cool fully, or you can enjoy warm from the oven.
- To make the icing: stir together the icing sugar and 1 tsp milk, using more or less to create a pipeable consistency.
- To decorate: pipe some icing over the ears and decorate with sprinkles. Add more icing into the middle of the bunny round part and add a mini egg for the tail.
- To eat and store: enjoy straight away or keep in a sealed container for 2-3 days.
Shop the recipe
Stay in touch
I look forward to hearing what you think of these Chocolate Easter Pastry Bunnies so please let me know in the comments below and leave a star review above. If you do make these pastries, I’d love to see so please tag me, I’m @nourishing.amy on Instagram and use the hashtag #nourishingamy. I’m also on Twitter, Facebook and Pinterest – please say hello!
With bunny pastry love x


